Bathroom Remodeling
Tile Installation
Tile installation begins with preparing the surface, which involves cleaning and ensuring it is dry, level, and free of any debris or imperfections. If necessary, old flooring or wall coverings are removed. A backer board is installed to provide a stable, moisture-resistant foundation, especially in wet areas like bathrooms. A layout is planned to determine the best starting point and pattern, minimizing cuts and ensuring a symmetrical design. Thin-set mortar is spread on the surface using a notched trowel, and tiles are laid in place, ensuring consistent spacing with tile spacers. Tiles are carefully cut to fit around obstacles and edges using a tile cutter or wet saw. Once all tiles are set, they are left to cure for a specified period, usually 24 hours. Grout is then applied between the tiles, and excess is wiped away with a damp sponge. After the grout has cured, it is sealed to protect against moisture and staining. The final step is a thorough cleaning of the tiles and the surrounding area, resulting in a durable, attractive tile surface.
Shower and Bathtub Replacement
Shower and bathtub replacement starts with turning off the water supply and removing the old fixture, which involves disconnecting plumbing and carefully detaching the unit from the wall and floor. The area is inspected and any necessary repairs to the plumbing or surrounding structure are made to ensure a solid foundation for the new installation. The new shower or bathtub is then positioned and aligned with existing plumbing connections. Adjustments are made to ensure a snug fit and level placement. Plumbing connections are securely tightened, and the fixture is anchored to the wall studs or floor as required. Waterproofing measures, such as installing a vapor barrier and applying silicone caulk around the edges, are taken to prevent water damage. Once installed, the fixture is tested for leaks and proper drainage. The final step is finishing the surrounding area, which may include tiling, sealing, and painting, leaving a fully functional and aesthetically pleasing shower or bathtub.
Vanity and Sink Installation
Vanity and sink installation begins with removing the old unit by disconnecting the plumbing and carefully detaching it from the wall. The area is cleaned and prepared, ensuring the wall and floor are in good condition to support the new vanity. The new vanity is assembled if necessary and positioned in place, ensuring it is level and aligned with existing plumbing connections. The sink is then installed on the vanity, and plumbing connections for the faucet, drain, and supply lines are made using appropriate fittings and sealants. The vanity is secured to the wall with screws and anchors for stability. The countertop is fitted and sealed to prevent water damage. Once everything is securely in place, the plumbing connections are tested for leaks and proper water flow. Any final adjustments are made, and the area is cleaned, leaving a functional and stylish vanity and sink installation.
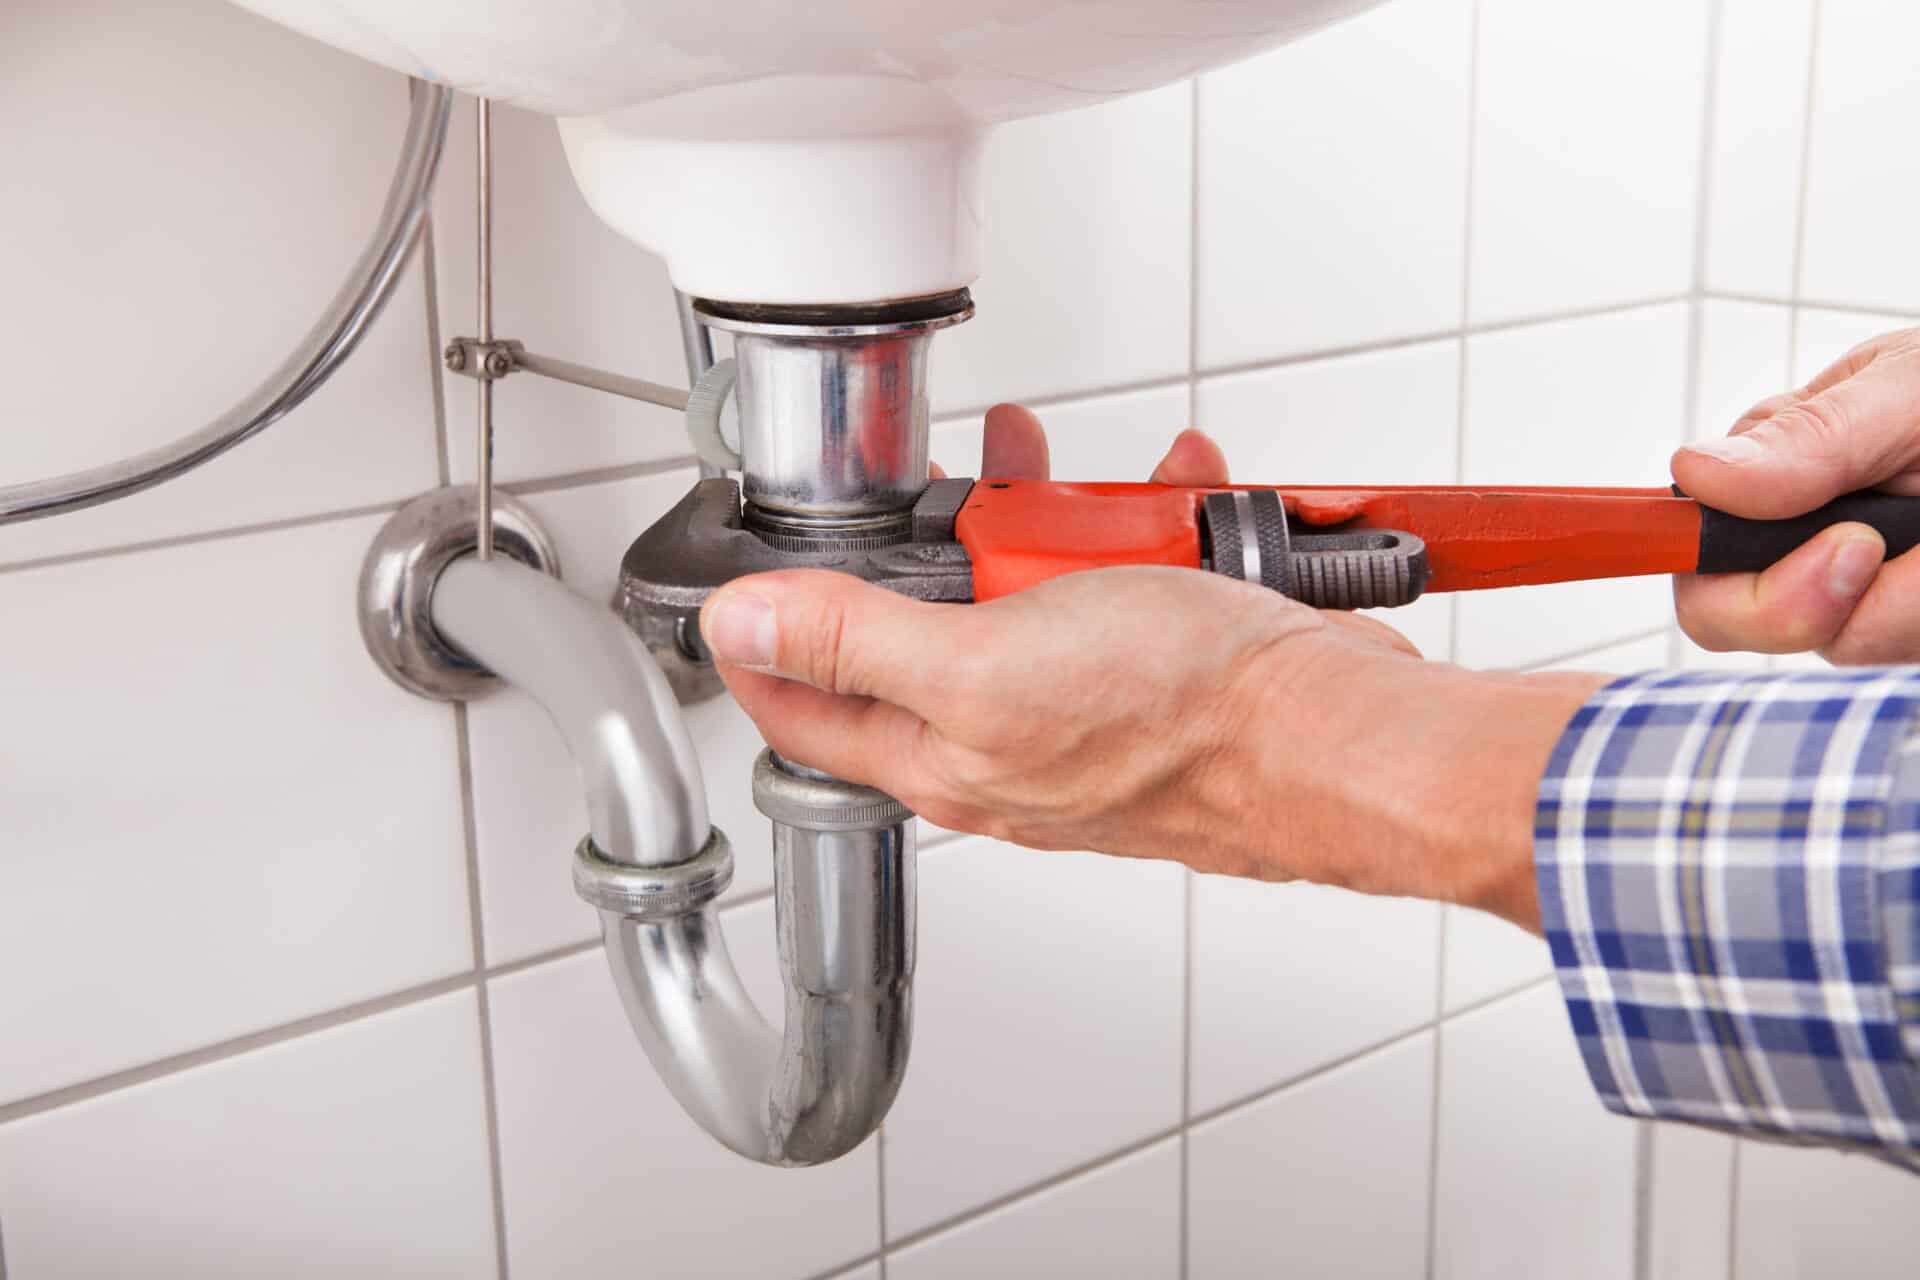
Plumbing Upgrades
Plumbing upgrades begin with assessing the existing plumbing system to identify areas that need improvement, such as outdated pipes, low water pressure, or inefficient fixtures. The water supply is turned off to ensure safety during the upgrade process. Old pipes and fixtures are carefully removed, and any necessary repairs to the structure or surrounding areas are made. New pipes, typically made of modern materials like PEX or PVC, are measured, cut, and fitted according to the planned layout. Connections are made using appropriate fittings and techniques to ensure a secure, leak-free system. New fixtures, such as faucets, showerheads, and toilets, are installed and connected to the updated plumbing. The system is thoroughly tested for leaks, water pressure, and proper operation. Any necessary adjustments are made to optimize performance. The final step is a thorough inspection to ensure all upgrades meet code requirements and function efficiently, followed by cleaning the work area.
Lighting and Fixture Updates
Lighting and fixture updates begin with planning the new lighting layout and selecting fixtures that complement the bathroom’s design and meet the lighting needs. The power to the bathroom is turned off at the breaker to ensure safety. Existing fixtures are carefully removed, and the wiring is inspected to ensure it is in good condition. New electrical boxes or supports are installed if necessary to accommodate the new fixtures. The new fixtures are then mounted, and the wiring is connected according to the manufacturer’s instructions, ensuring secure and correct connections. Each fixture is carefully aligned and secured in place. Once all fixtures are installed, the power is restored, and the new lighting is tested to ensure it operates correctly and provides the desired illumination. Any necessary adjustments are made to optimize the lighting effect. The final step is a thorough cleanup of the work area, leaving a well-lit and aesthetically pleasing bathroom.